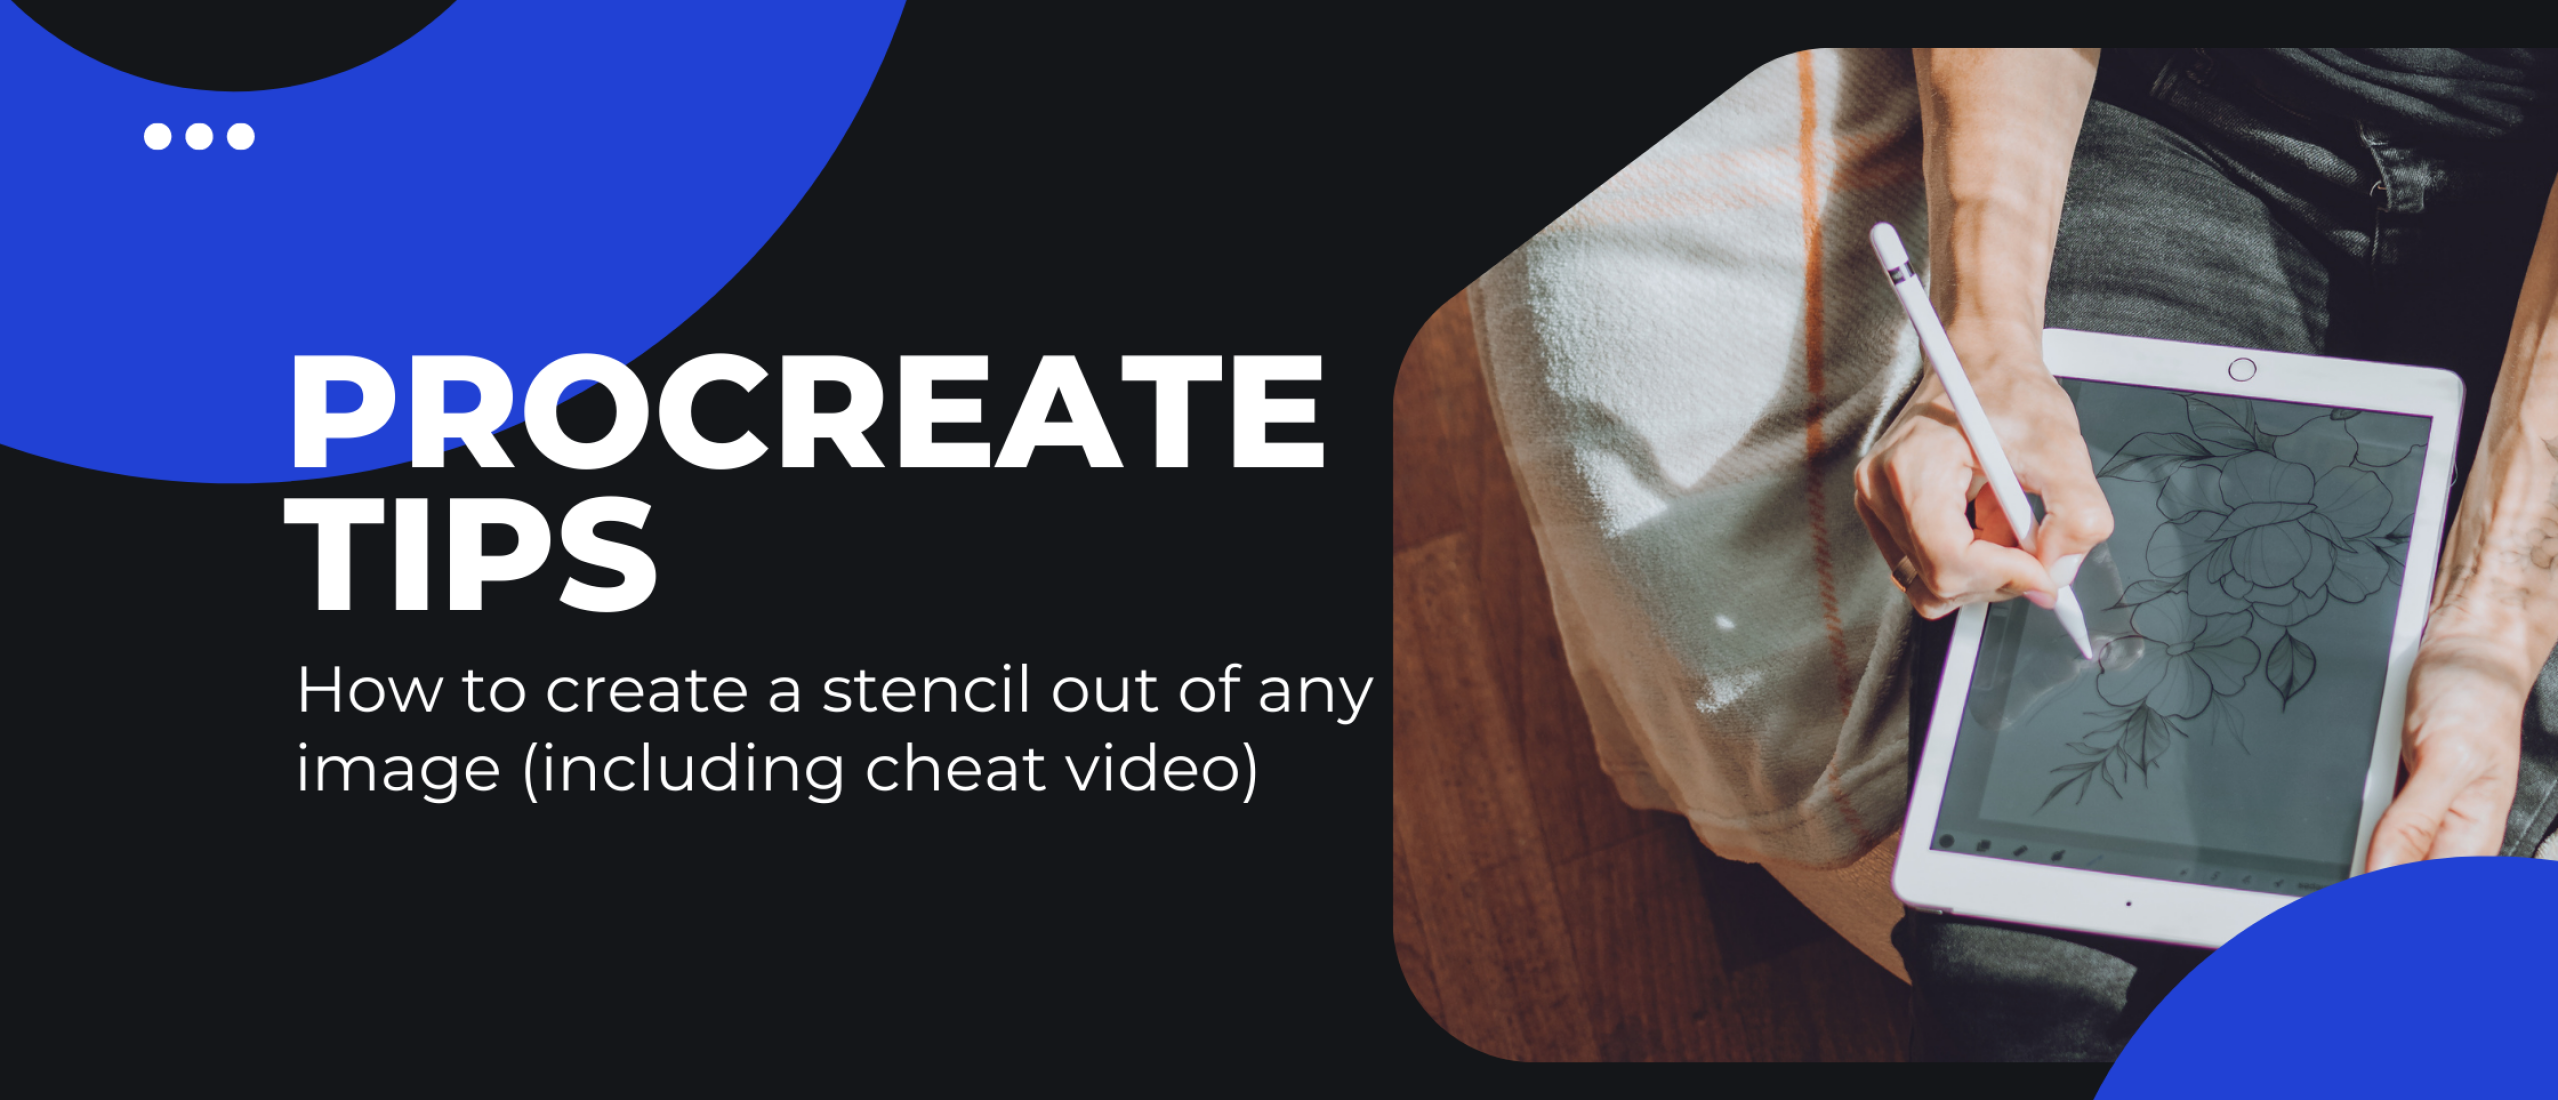
How to create a tattoo stencil out of any picture using procreate (cheat code video included)
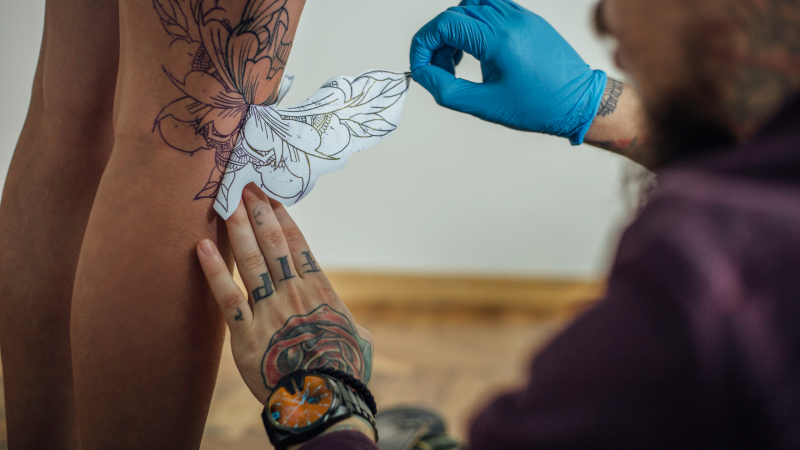
Creating a tattoo stencil is an essential part of the tattooing process. Stencils help artists transfer designs onto the skin accurately and efficiently. In the past, tattoo stencils were made by hand using transfer paper and carbon. However, with the advent of digital tools like Procreate, artists can now create stencils from any picture using their iPad and Apple Pencil. In this blog, we'll explore how to create a tattoo stencil out of any picture using Procreate.
Step 1: Import the Picture
The first step in creating a tattoo stencil is to import the picture you want to use. You can do this by tapping the "+" button in the top right corner of the screen and selecting "Insert a Photo." Select the picture you want to use and adjust it to fit the canvas.
Step 2: Create a New Layer
Next, create a new layer by tapping the "+" button in the Layers panel. This layer will be used for the stencil.
Step 3: Trace the Design
Using the Apple Pencil, trace the design over the picture on the new layer. Make sure to keep your lines clean and precise. If you make a mistake, use the undo gesture (two-finger tap) to correct it.
Step 4: Remove the Picture
Once you have traced the design, you can remove the picture layer by swiping left on it and selecting "Delete."
Step 5: Adjust the Design
Now that you have the basic design, you can adjust it as needed. You may want to adjust the size or placement of the design to fit the client's body. You can also use the Transform tool to rotate or flip the design if necessary.
Step 6: Create the Stencil
To create the stencil, you need to invert the colors. This will make the lines of the design black and the background white. You can do this by selecting the stencil layer and tapping the Adjustments button (the icon with three circles) in the top right corner. Then select "Invert" from the list of adjustments.
Step 7: Print the Stencil
Finally, you can print the stencil directly from Procreate. Select the stencil layer and tap the Share button (the square with an arrow pointing up) in the top right corner. Then select "Print" from the list of options. Make sure to use a high-quality printer and transfer paper for the best results.

Conclusion
Creating a tattoo stencil using Procreate is a quick and easy process that can save time and improve accuracy. By importing a picture, tracing the design, adjusting it as needed, inverting the colors, and printing the stencil, you can create a precise and professional-looking design that is ready for the tattooing process. So, next time you need to create a tattoo stencil, try using Procreate for a more efficient and accurate process.
